


The textiles
There was just too much detail to include in last Sunday’s post about our time in St Gallen, so I thought I’d leave much of the textile elements for another post. Here it is - take a deep breath before you dive in.
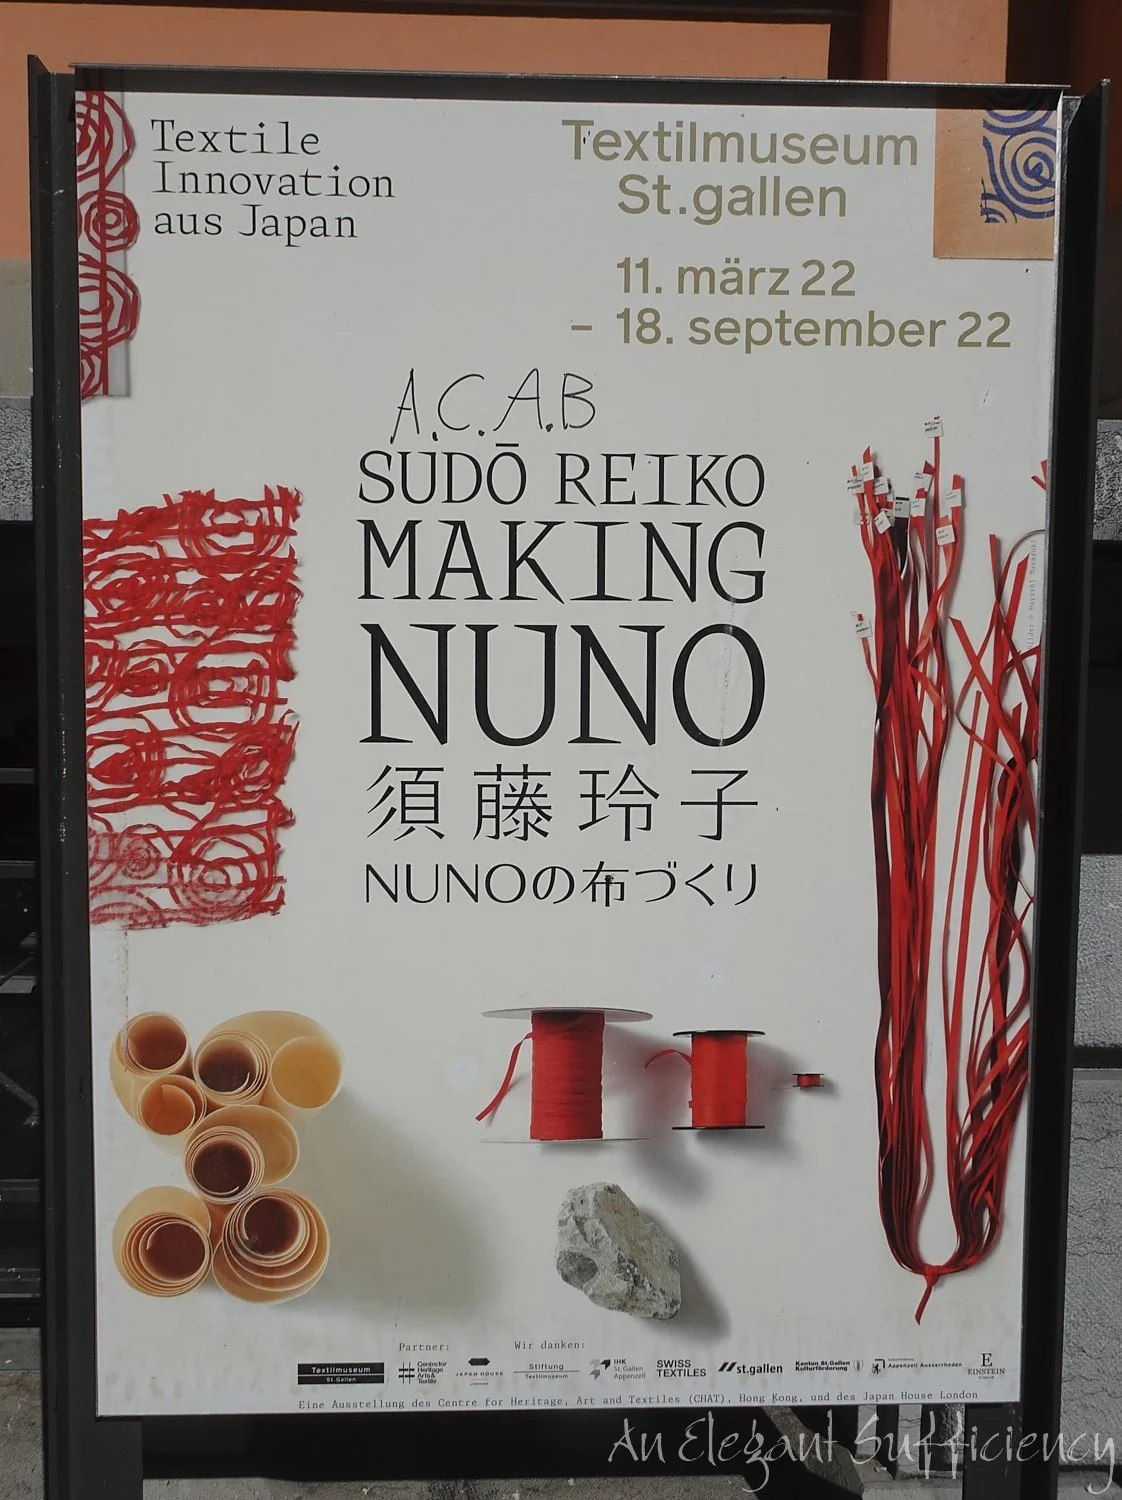
So here we are, at the Textile Museum in St Gallen, a long time favourite of mine. The current exhibition is right up my street too.
It being Sunday, the library is closed but I’ve blogged about it in a previous post and will surely do so again given the opportunity!

I could still peer through the locked doors and remember the wonderful symmetry of this amazing library and the magnificent collection of books, magazines and samples that have a home here.
However, let’s get on with what we came for!

At the top of the stairs and turning right, we were greeted by this screen, created from punchcards, which gave a tempting glimpse of what was in the gallery beyond. I was looking forward to this show and had already explained the process of Nuno feltmaking to my hero, but on going into the gallery, I realised this was nothing to do with that! (Serves me right for jumping to the wrong conclusion)
In this context, Nuno refers to a Japanese textile studio whose design director, Sudo Reiko’s innovative approach was the focus of this exhibition. I also discovered almost immediately that this exhibition had shown in London in 2021 and in Edinburgh too. Covid notwithstanding, I wondered how I’d missed it?
The exhibition was shown in a series of four rooms, the first one showing large free standing exhibits of the five processes and the second showing the underpinning design and materials used in each. I’m going to use artistic license here and gather the details of each process together, which is how I would have preferred to have viewed the exhibition, really. I’m sure there are many good reasons why that was not possible; maybe the samples were thought to be better shown in the lighter of the two rooms?
Anyway, on with the show and the first exhibit, shown as “Shaping Web: Jellyfish” How intriguing! The process of shaping this new fabric - actually two fabrics, for an opaque white polyester taffeta is layered with a lighter, transparent blue fabric of similar fibre content - is designed to utilise the shrinking quality of fabric made from polyvinyl chloride such as this. A factory was found who could screenprint “stitches” in glue before heating the fabric to 85°C at which point “the entire mass shrivelled before our eyes”. The results were so successful the process was patented.
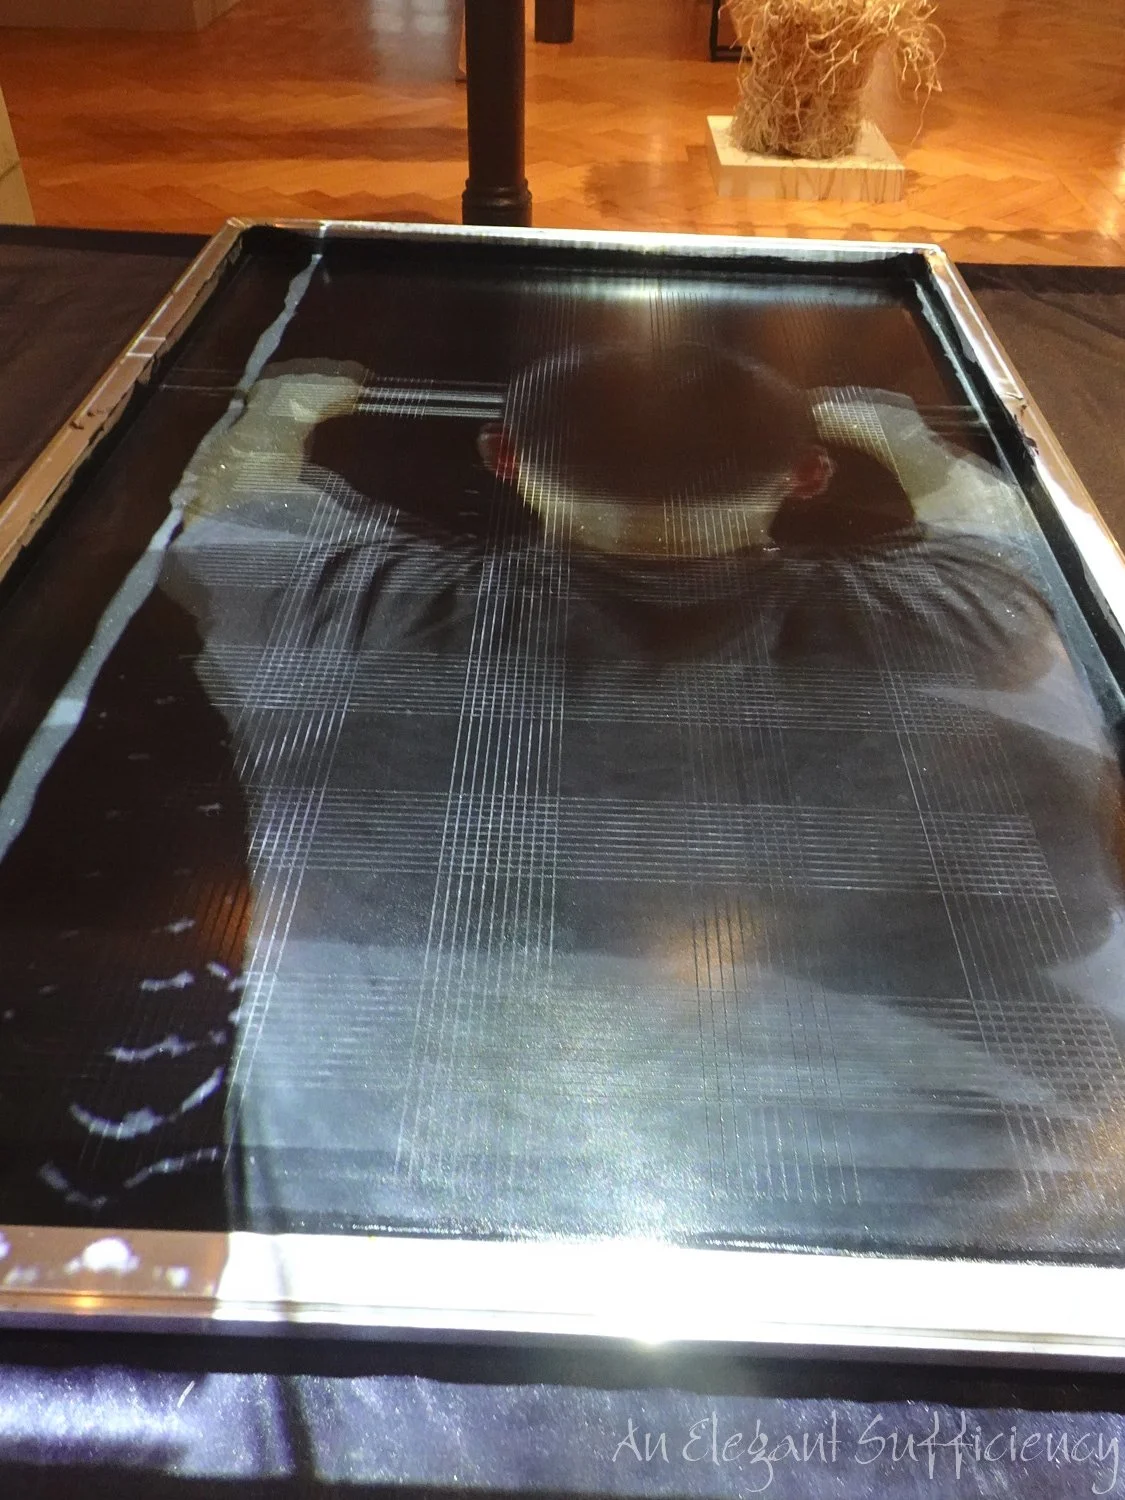
Part of each section included an insight into the process described, so here was a full sized printing table with a video projected onto it, showing the technician applying the glue by means of screen printing. Very realistic and a great way of demonstrating how it’s done.

Here too was a finished piece for handling, enabling me to see how the two fabrics were treated together but could be easily separated afterwards. The “jellyfish” term was applied as the finished organdy “appears to wriggle with buoyant life”.
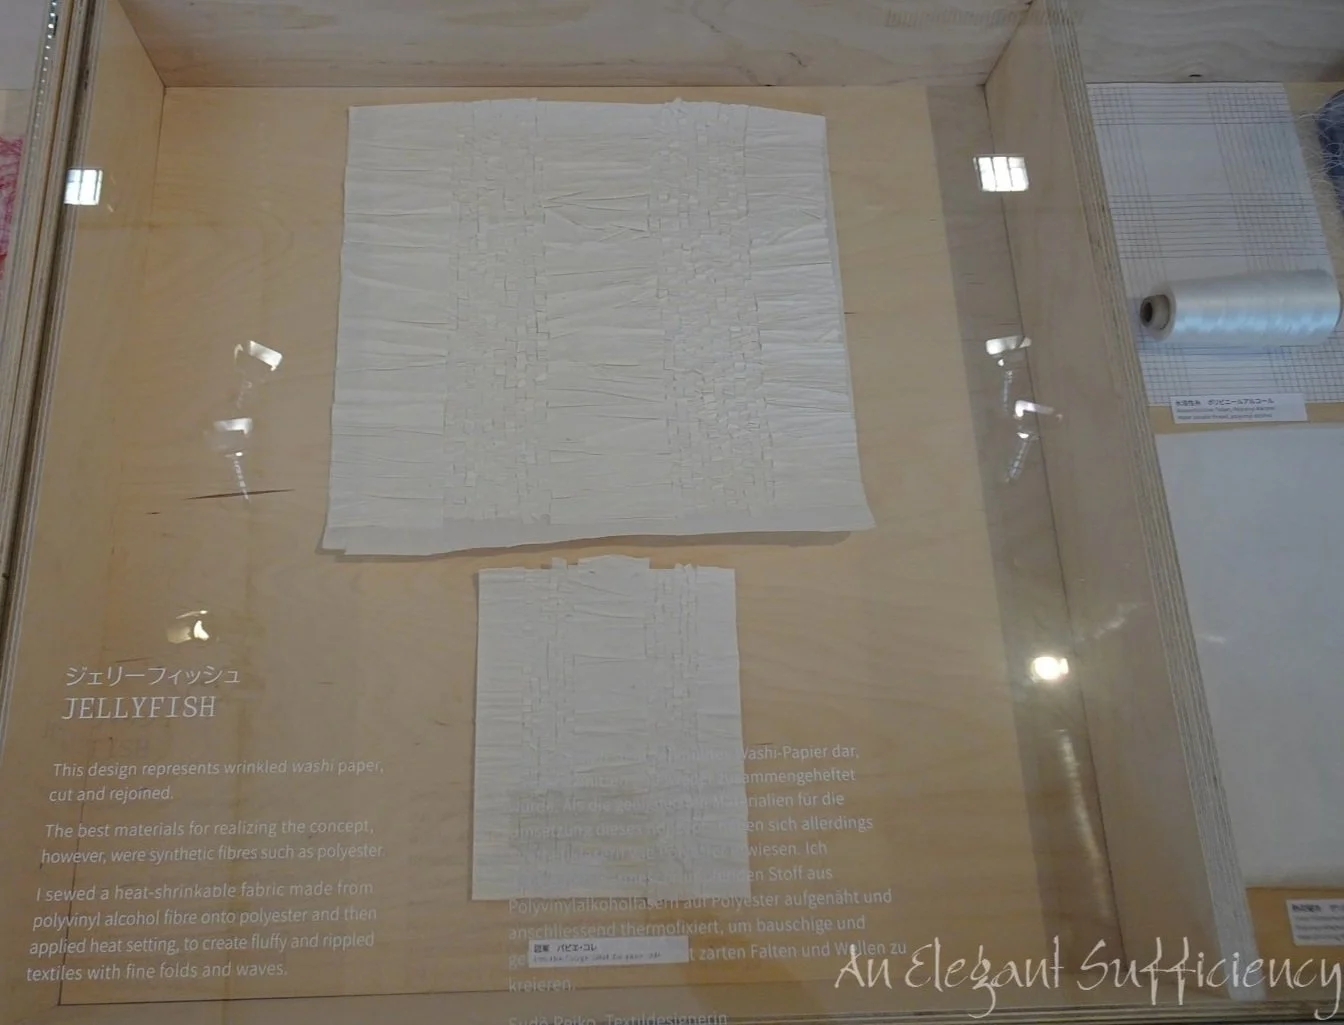
The cases in the second gallery showed more samples and details of the process.
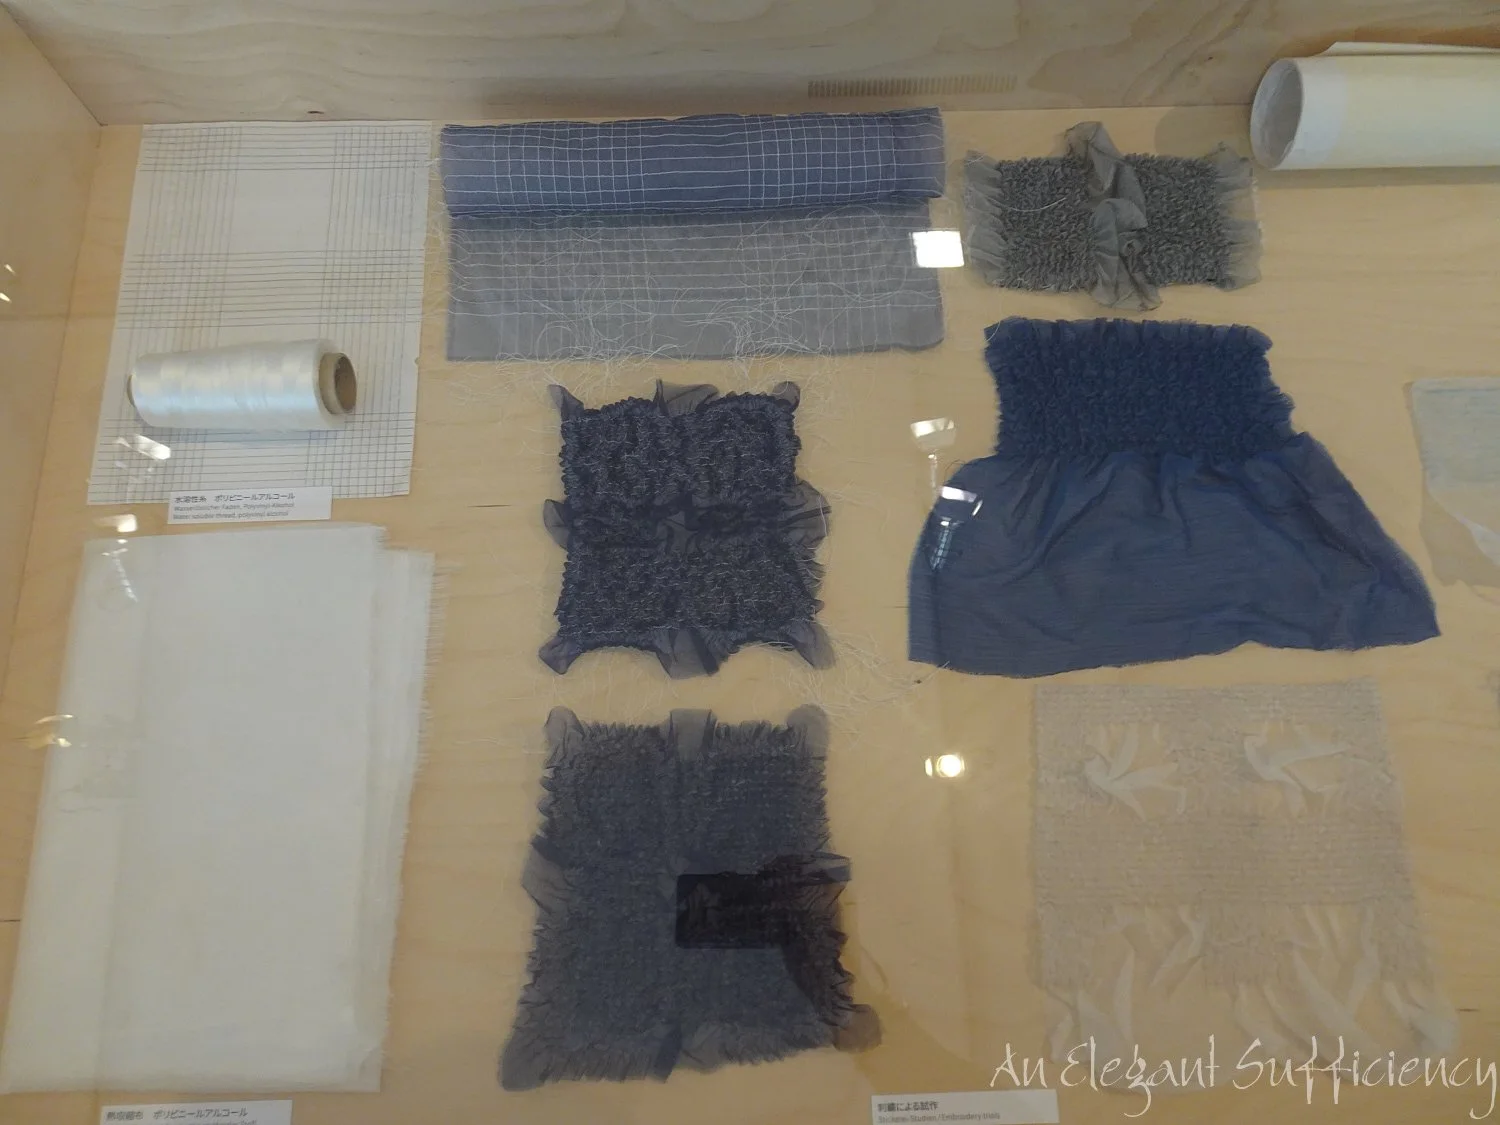
The highly reflective glass surfaces and the lighting system overhead created the inevitable reflections, especially since the lady with a duster and glass polish had just been through too!
I’m sure that, if I’d had time (and energy) I’d have been toing and froing between the two galleries, working out what was what! Nevertheless, the handouts with the explanations were really good and for most of the time, the exhibits spoke for themselves.

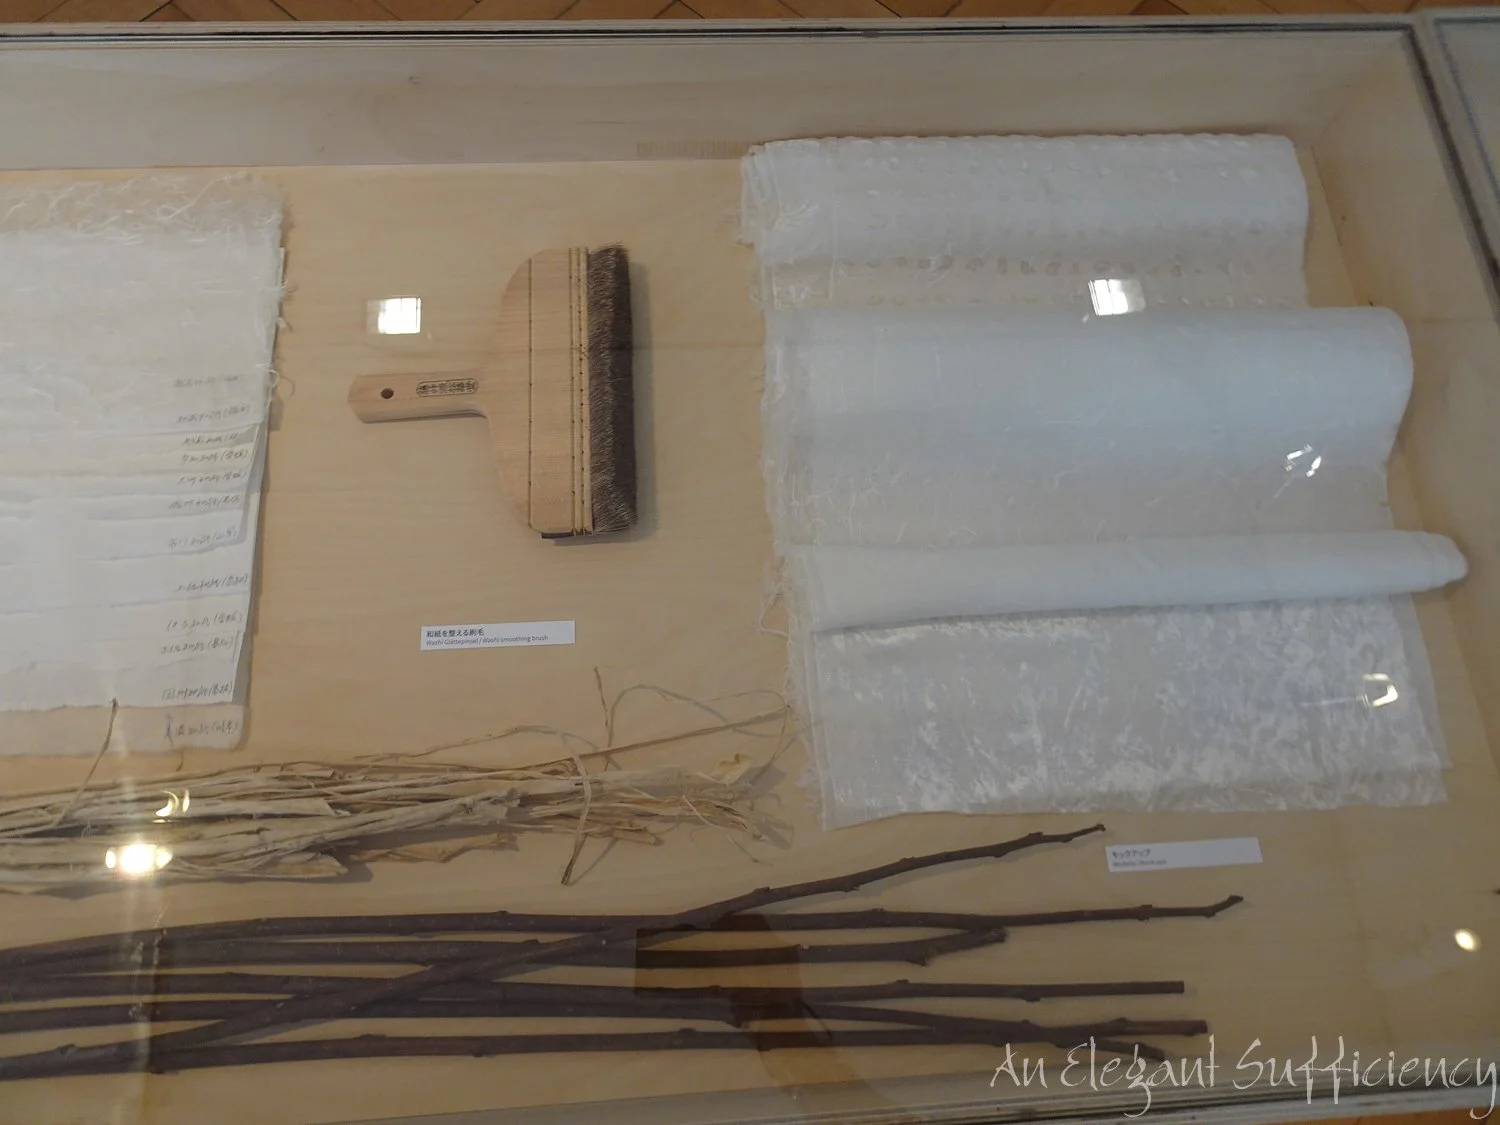
On to the second of five techniques shown in the first gallery. This design was prompted by bolts of fabric, all stacked up on top of one another with the roll ends tightly curled. These uneven spirals created an interesting pattern to interpret using tape made from washi paper stitched to a water soluble base.

When the base is dissolved, the curls of ribbon are left as a tracery of paper roll patterns. Chemical lace. Now, this one wasn’t so new to me as I’ve used soluble fabric for some years in my machine embroidery, but nevertheless, it was interesting to see it in large scale production.
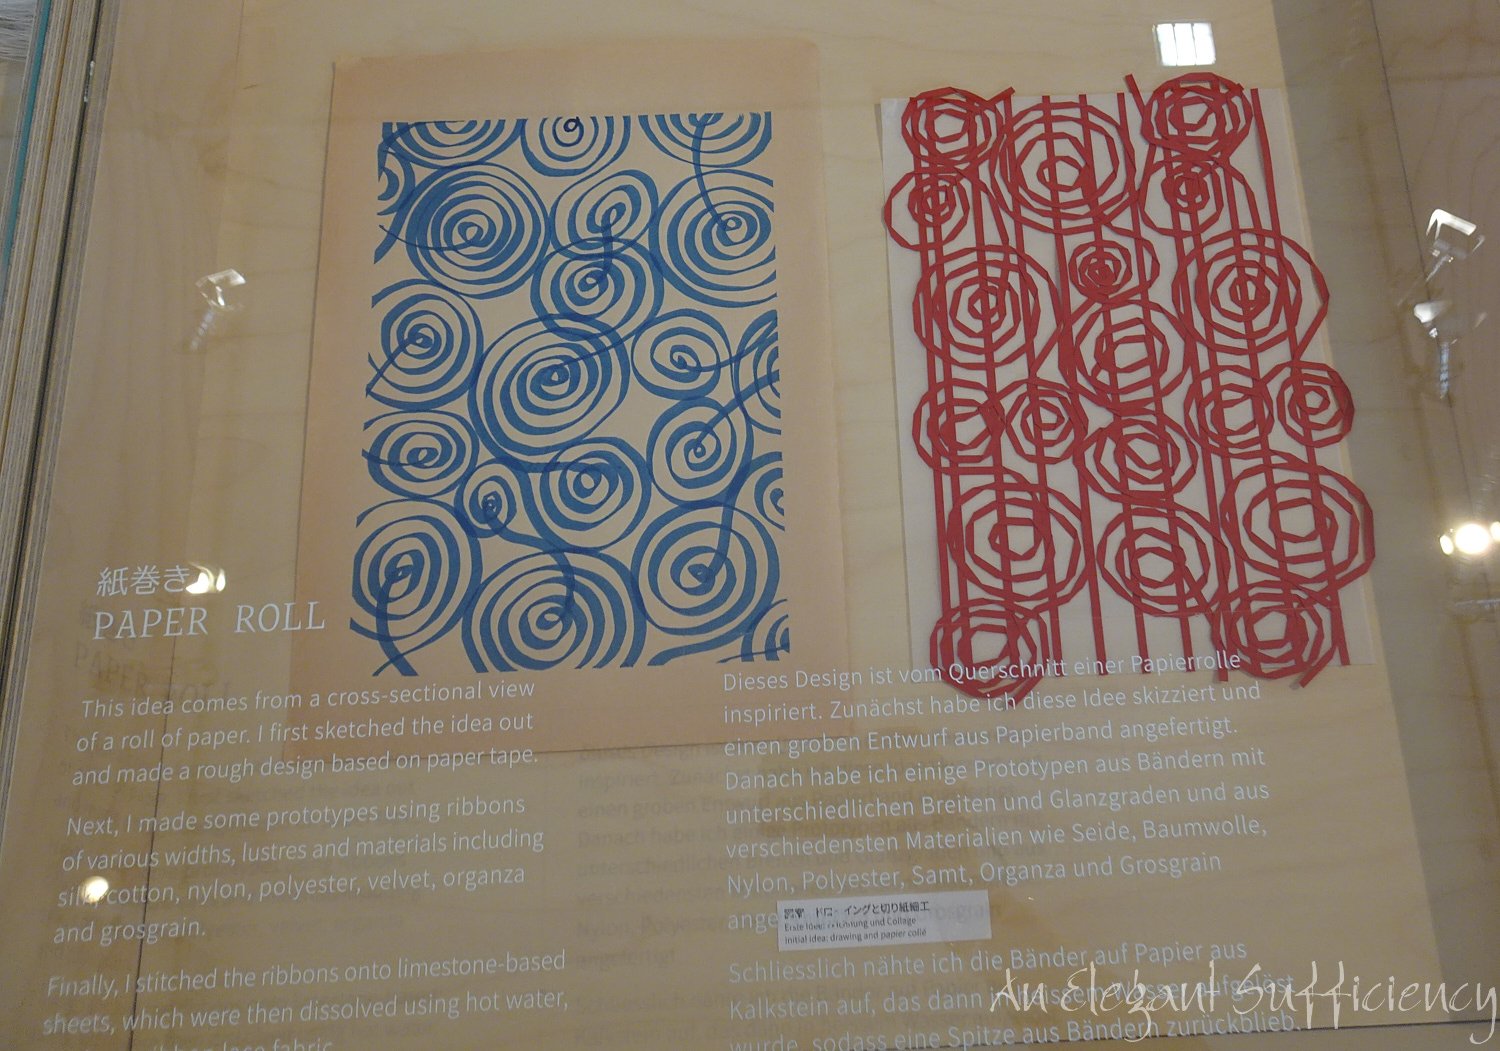
The case showing the details of this second technique was particularly comprehensive, showing the original drawing of the paper rolls too.
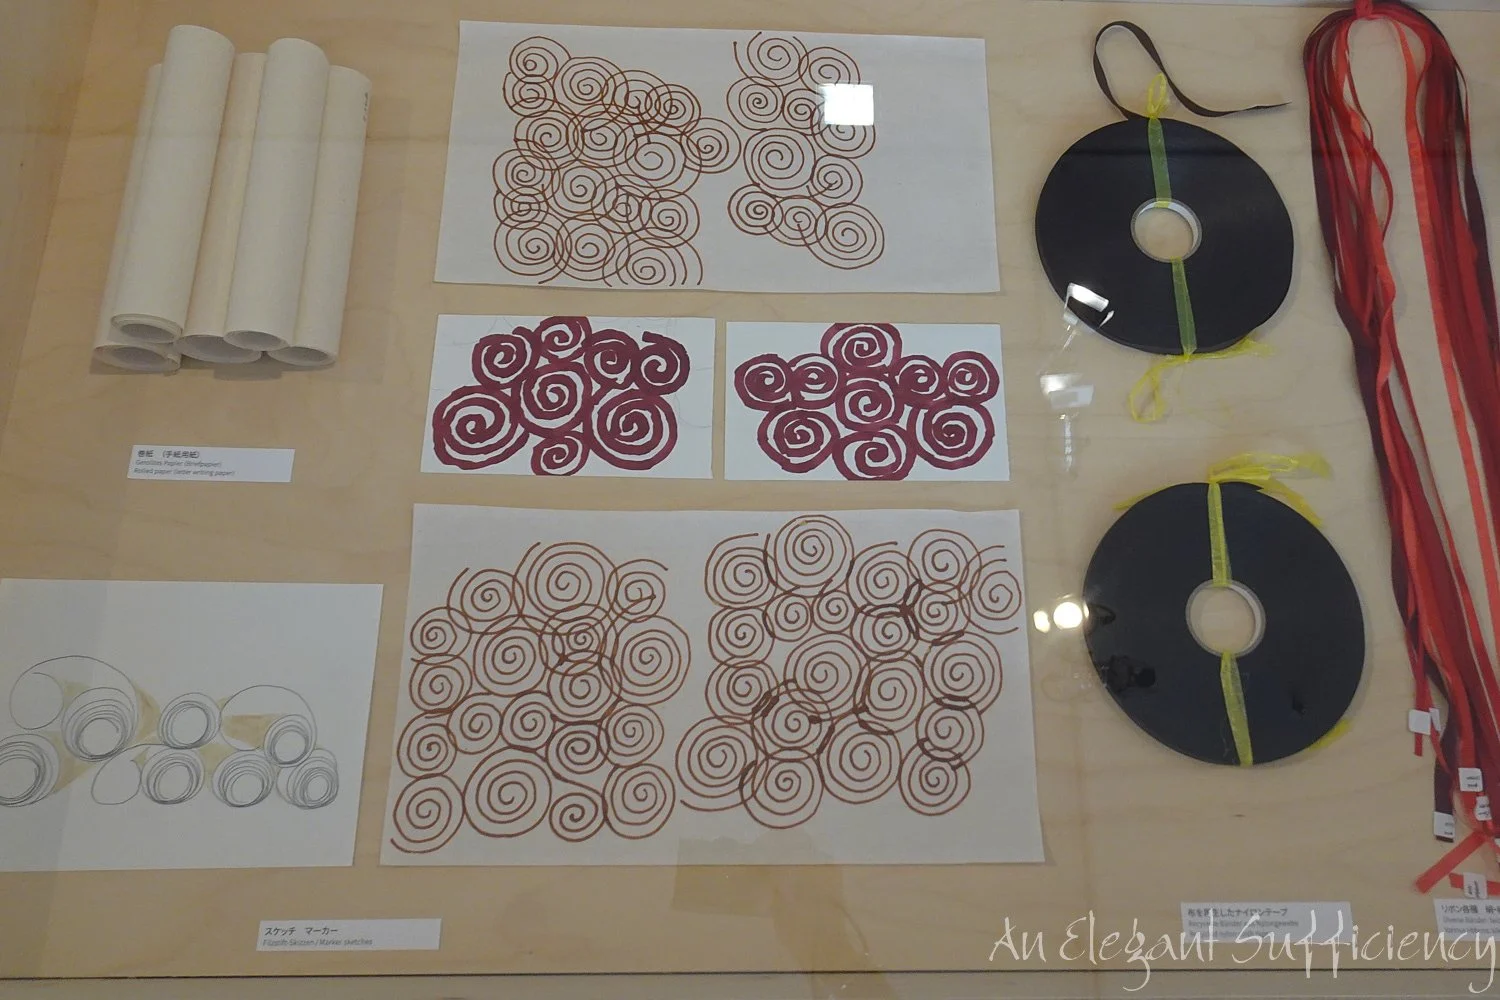
Here were sketches and samples.
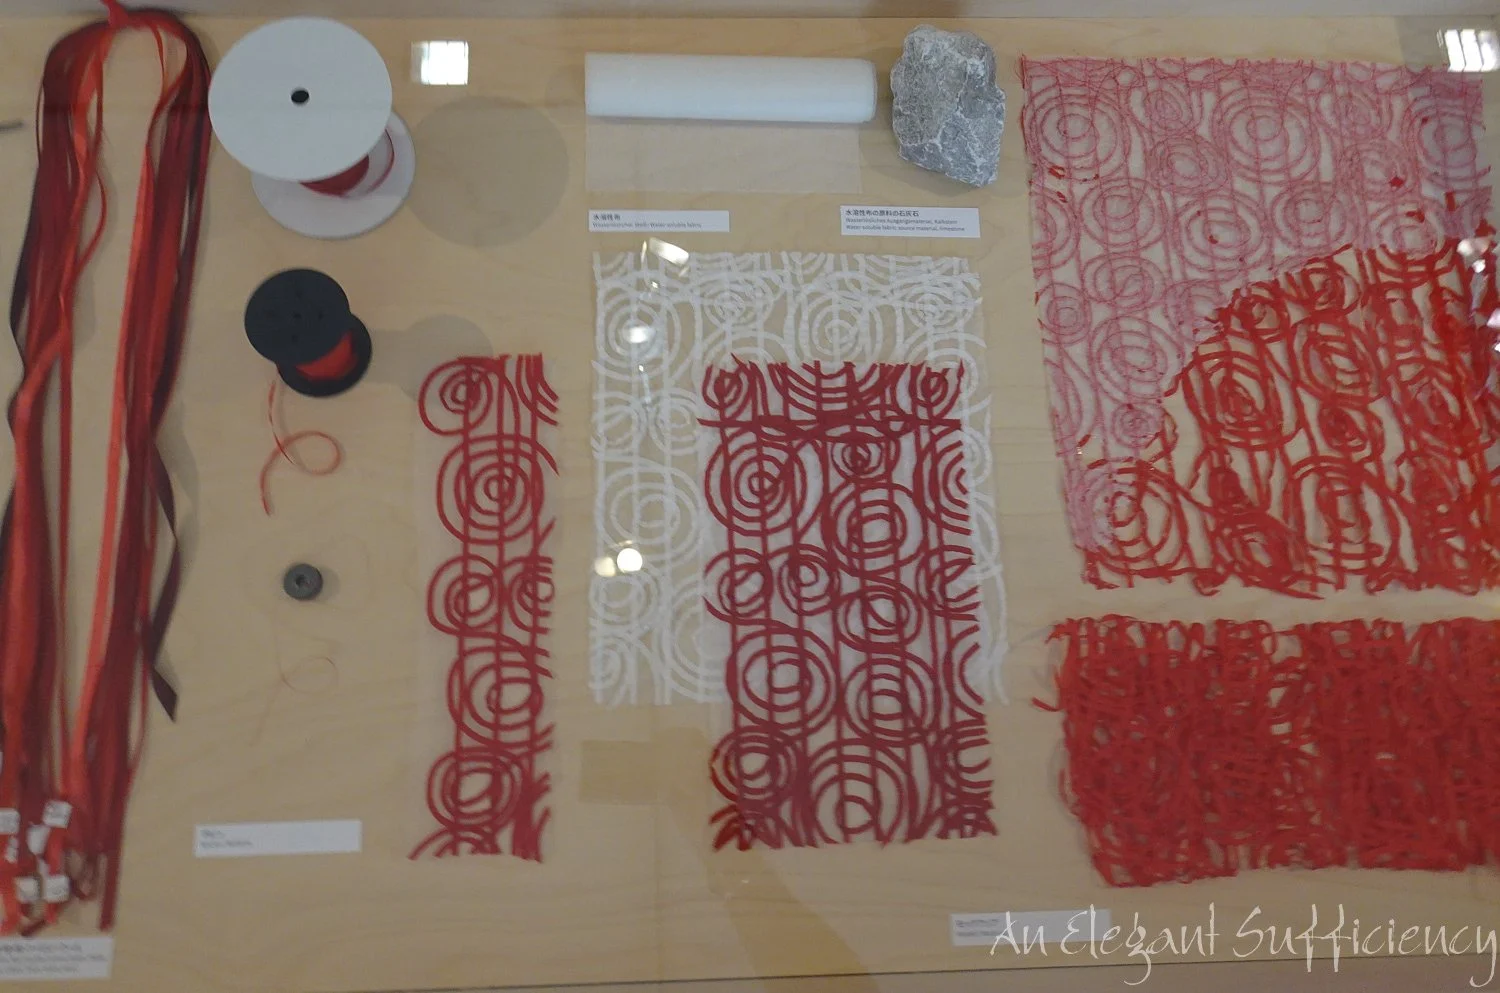
They were shown together with the finer details of the finished process. I found it really interesting to see so much background information.

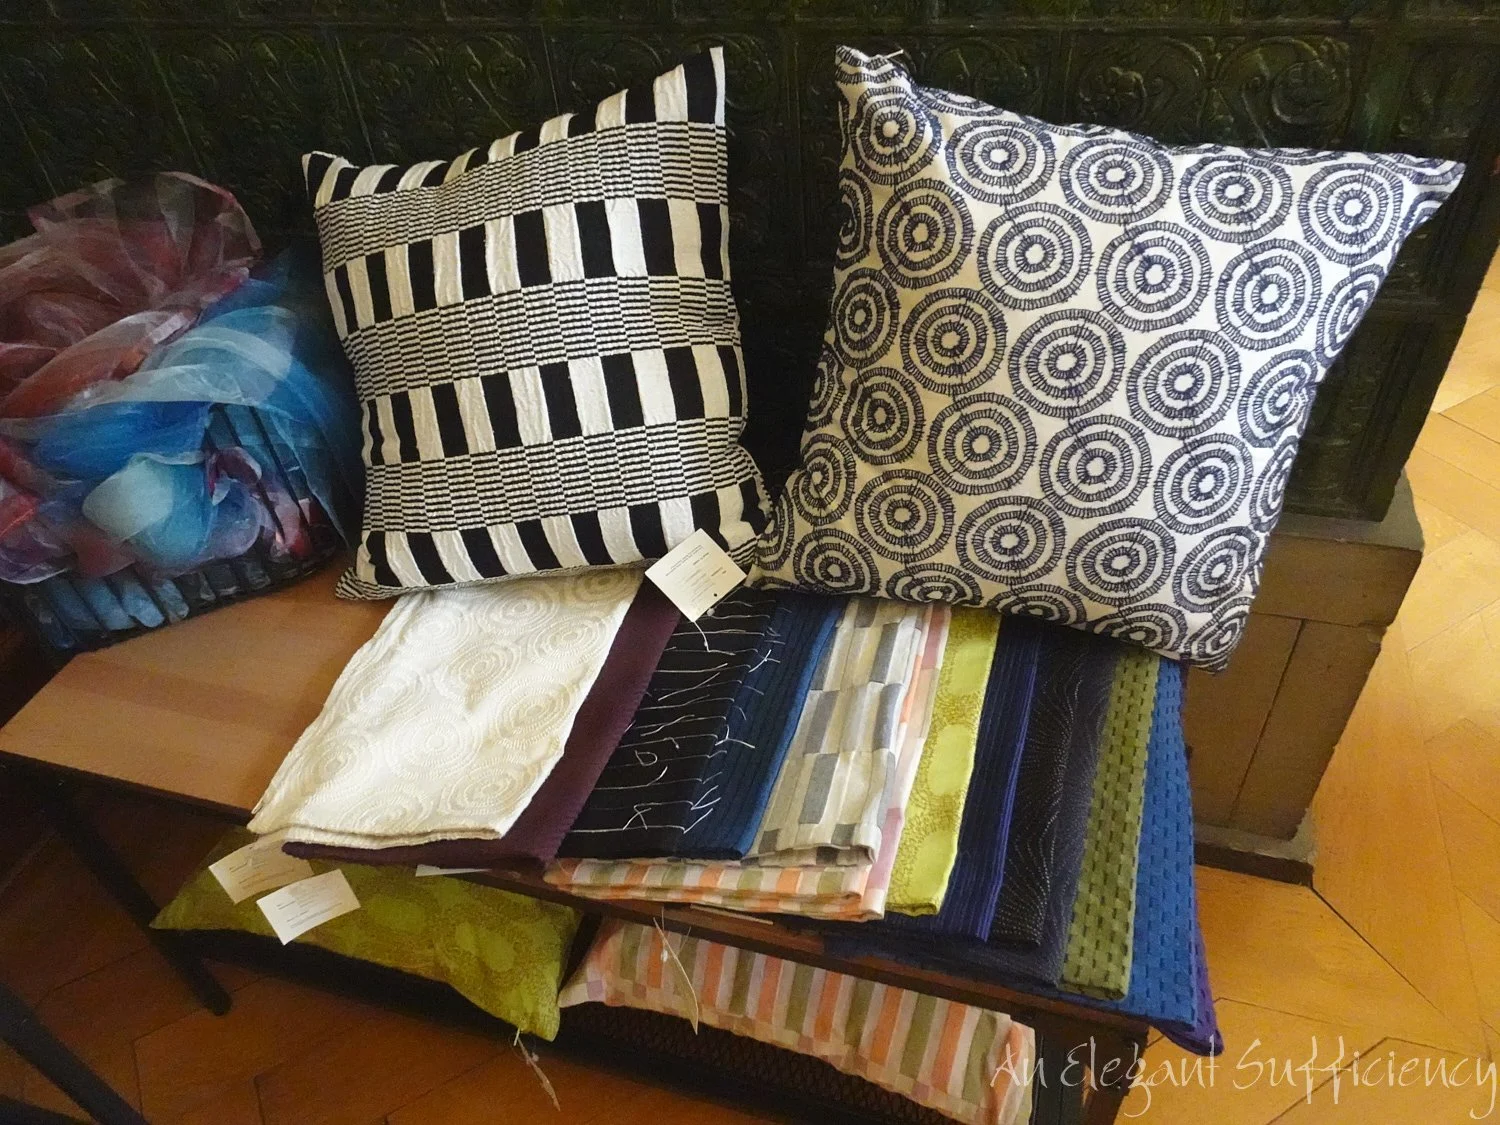
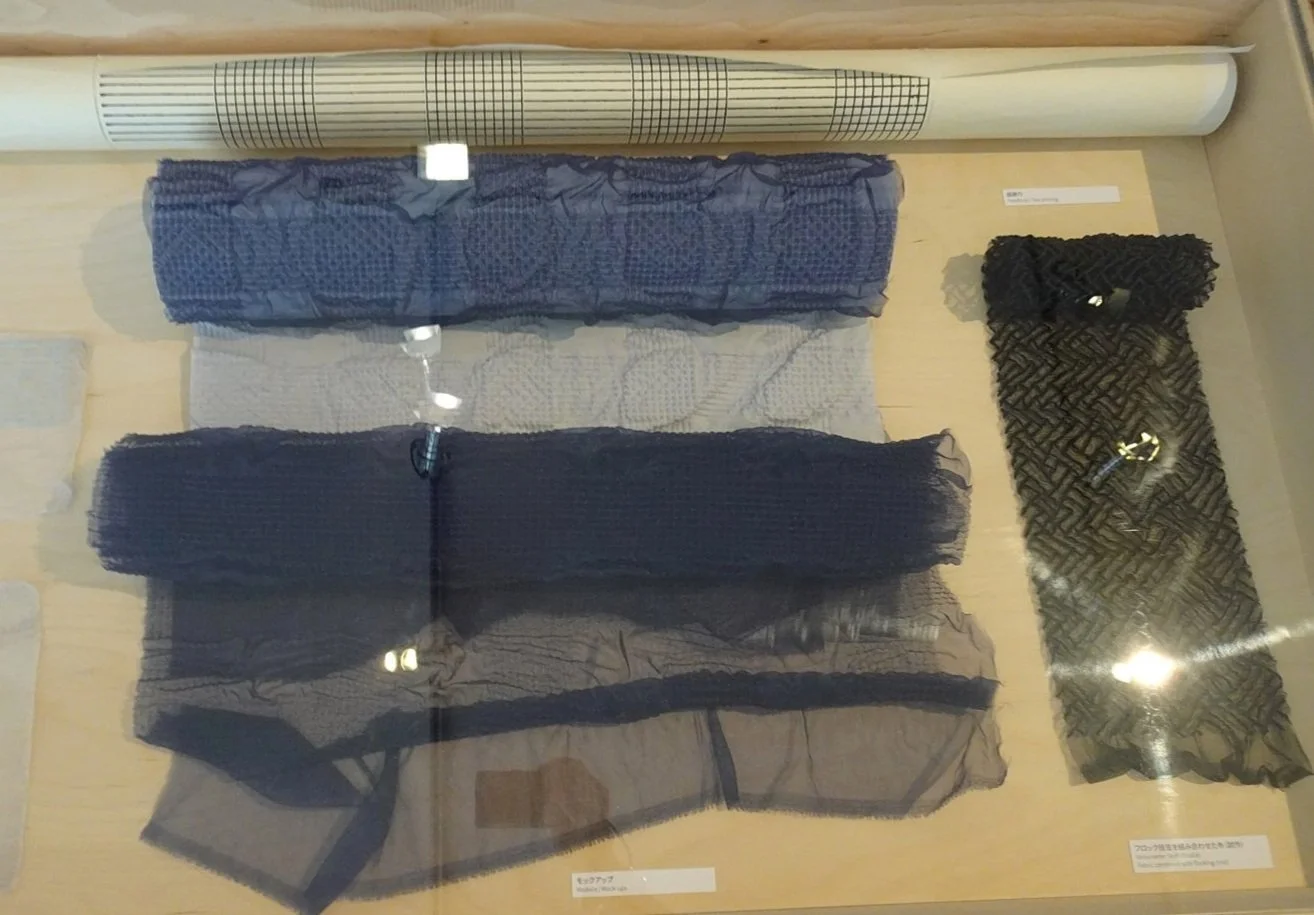
The third exhibit was the one that greeted us on entering the gallery: the punch cards. These were to illustrate the programmable Jacquard loom and the resultant black and white fabric fabric was shown as a kind of “hammock” above a sample beneath it.
The background to this woven cloth referred to another exhibit nearby, which I hadn’t connected with it in my mind - but this explained it all!

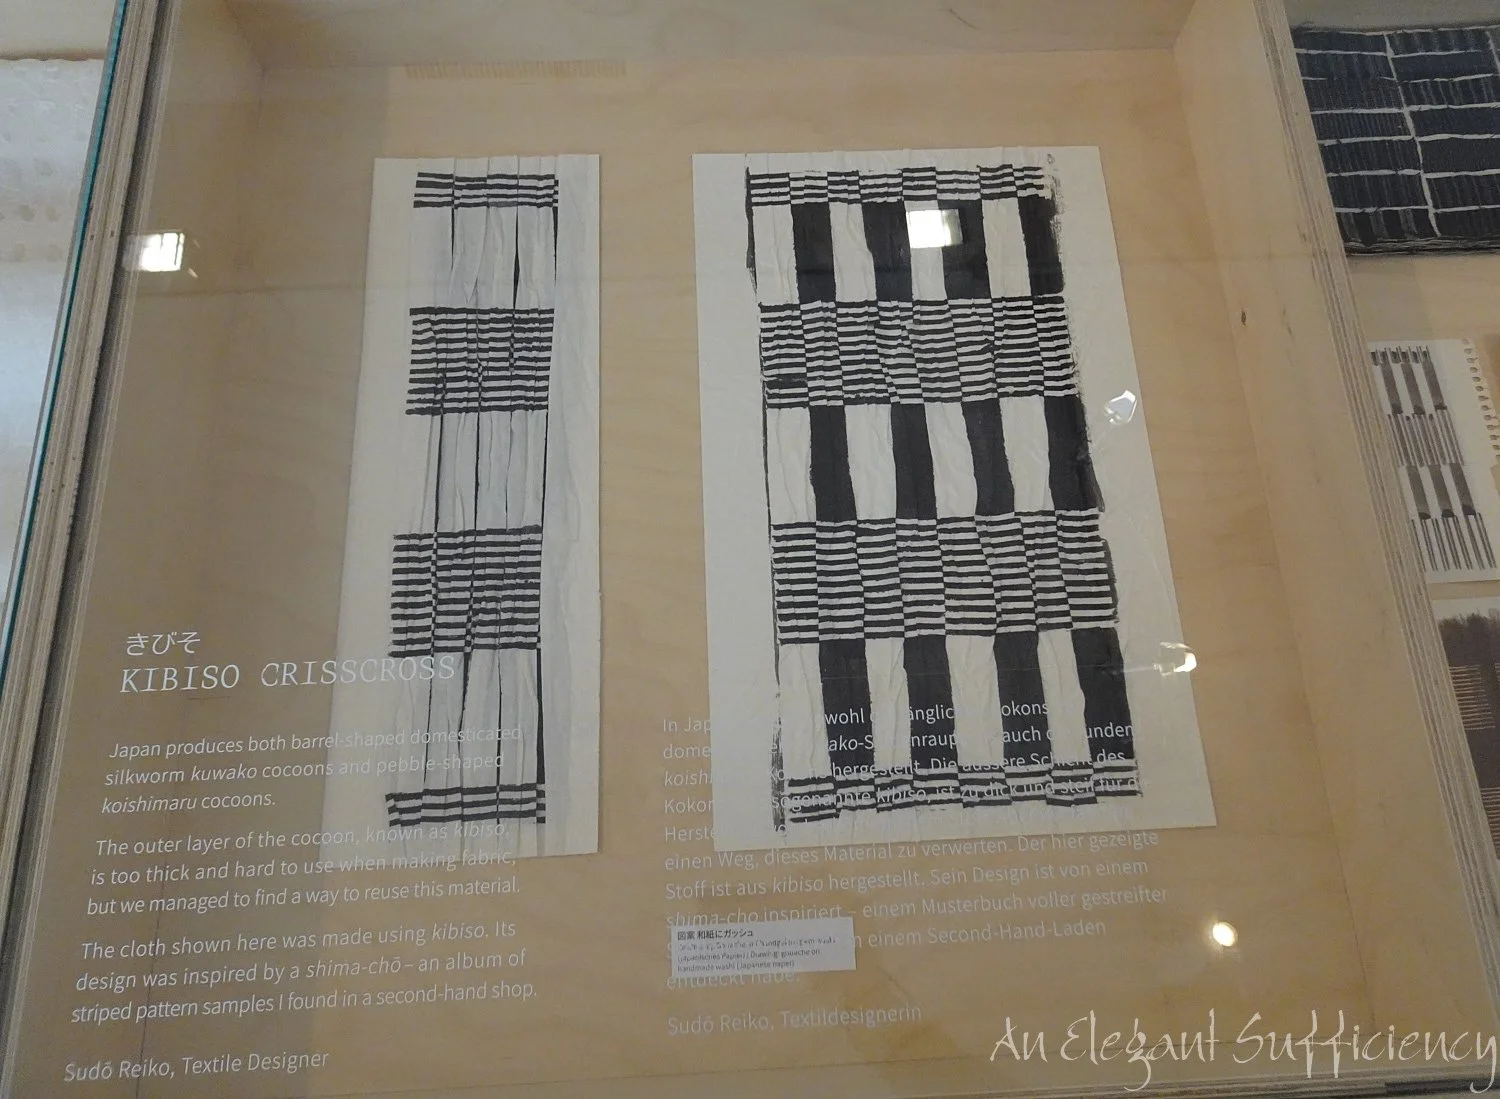
Here in the first gallery was a display of what I had understood to be examples of the raw materials used in the fabric production. One of Sudo Reiko’s principles is to upcycle discards and to use everything with no waste.

The samples in the second room explained the relevance of these fibres in the process and alongside pages from her sketchbook, the samples of kibiso, - the outer layer of the silk cocoon which is usually discarded - were shown with the samples of fabric Nuno creates using them.

A more complex variation of the Jacquard loom was heralded by the glorious shadows formed from the screen of cones of silk , behind which was a display of colour plate weaving.

Once again, the process was shown by means of a projected animation onto a (static) warped loom. So clever! The resultant fabric is a complex geometric design with multicoloured warps.
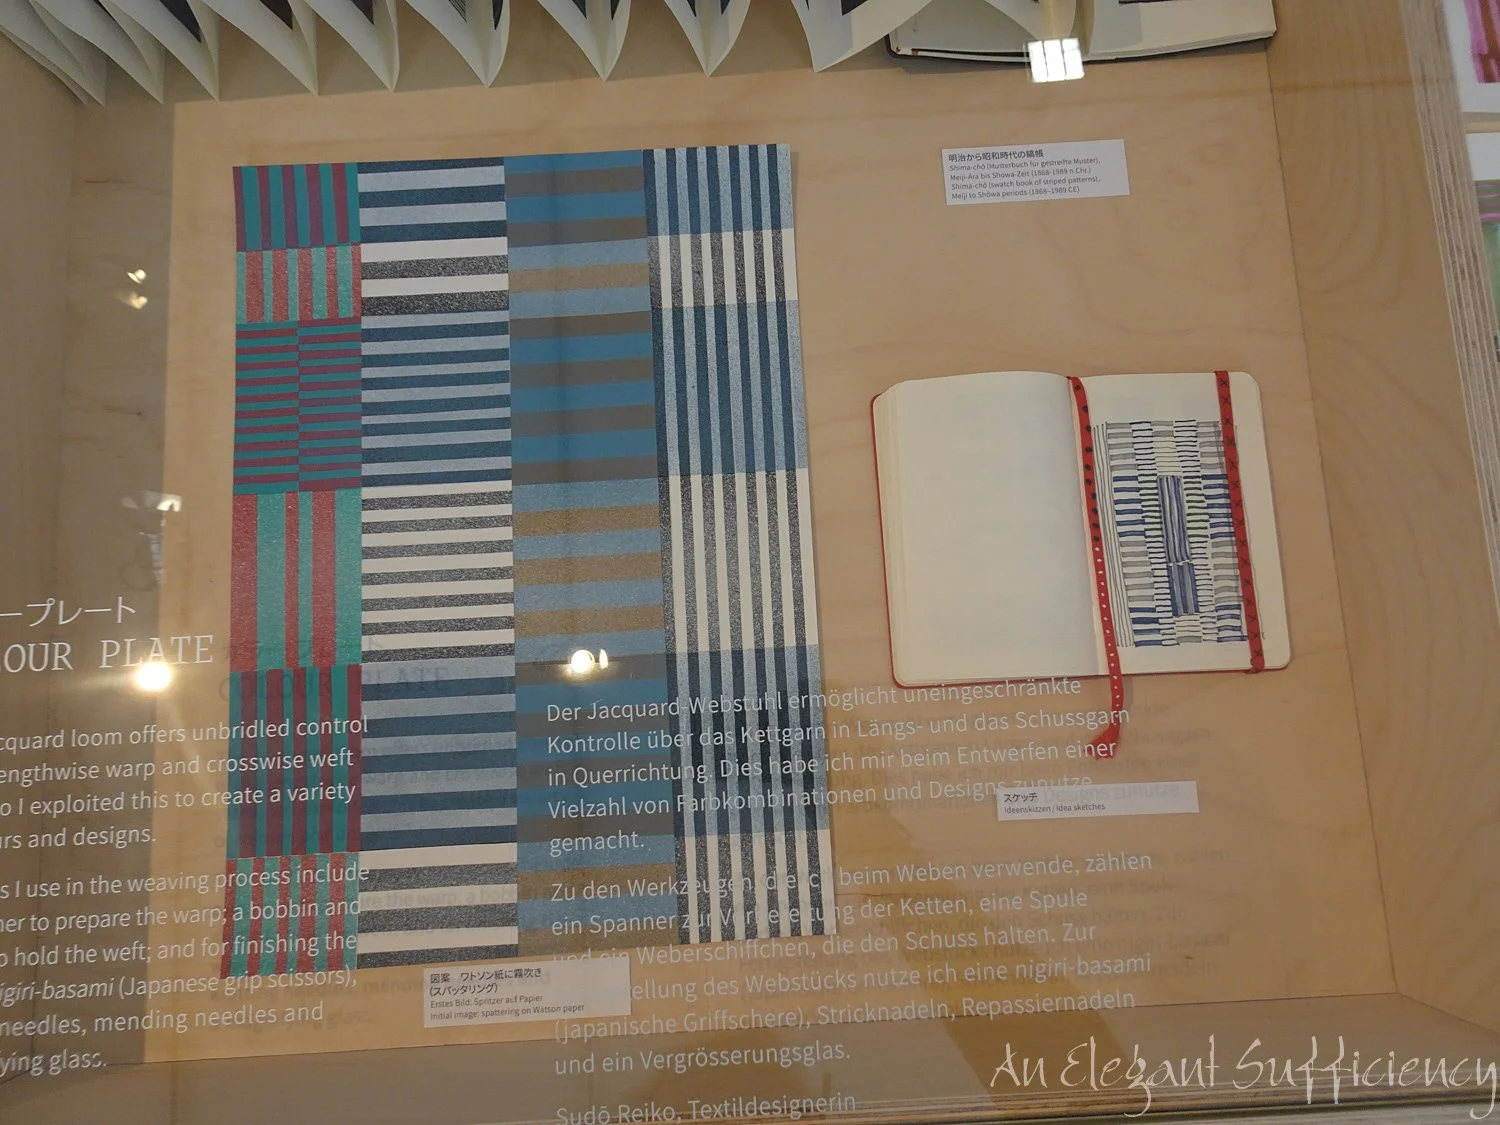
Again, there were more drawings and sketches in the glass cases next door.
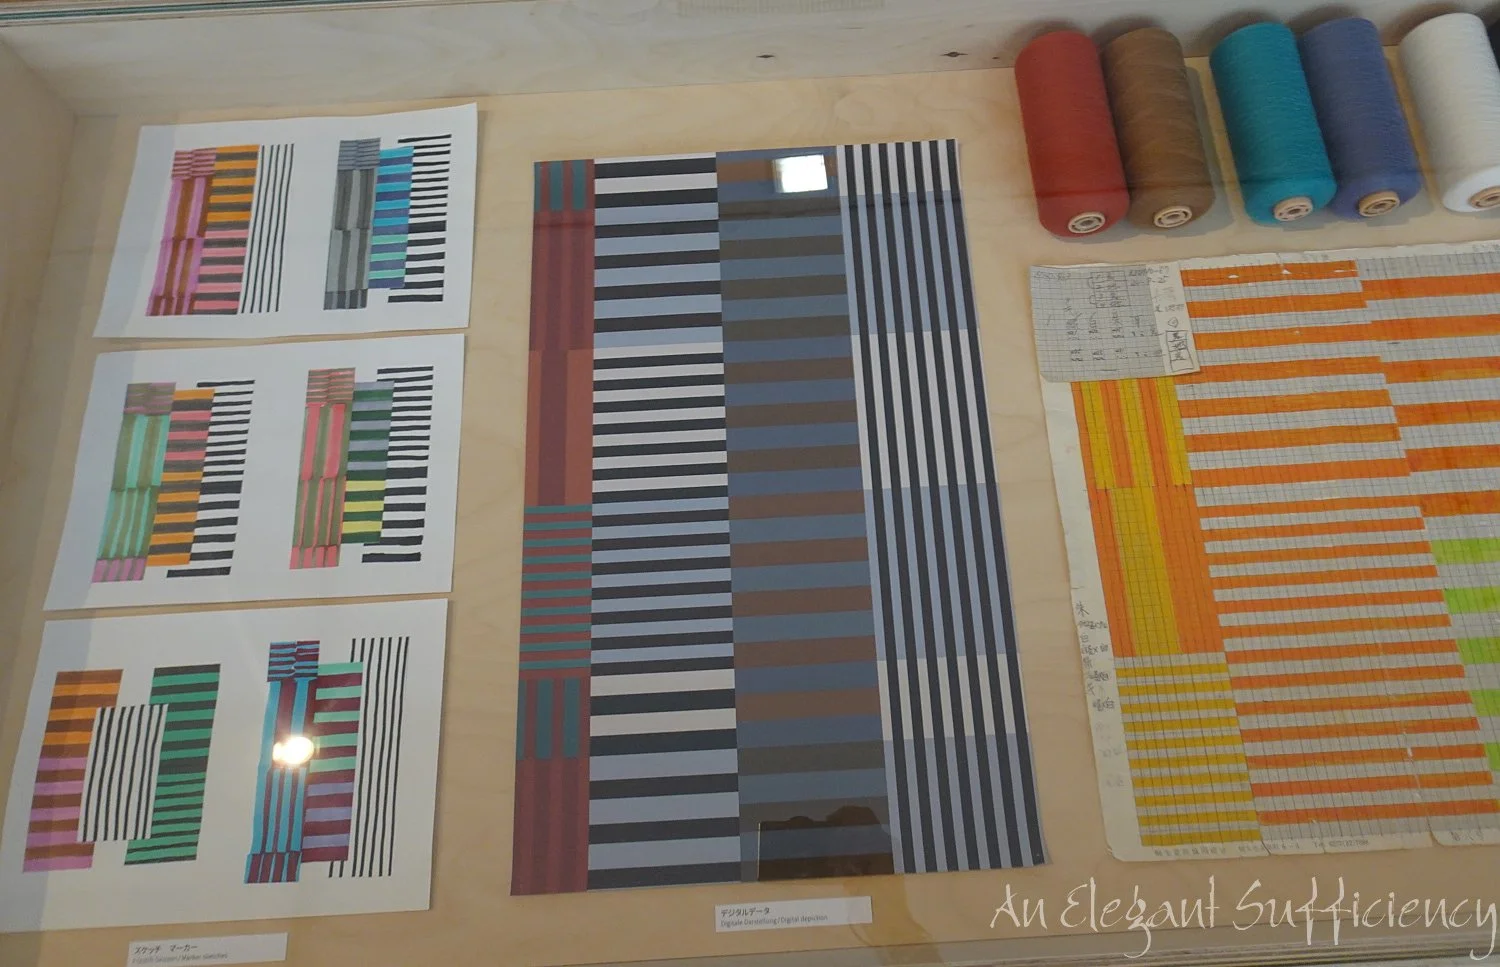
Some of the samples reminded me of Kaffe Fassett designs, though possibly in rather more muted colours than his!

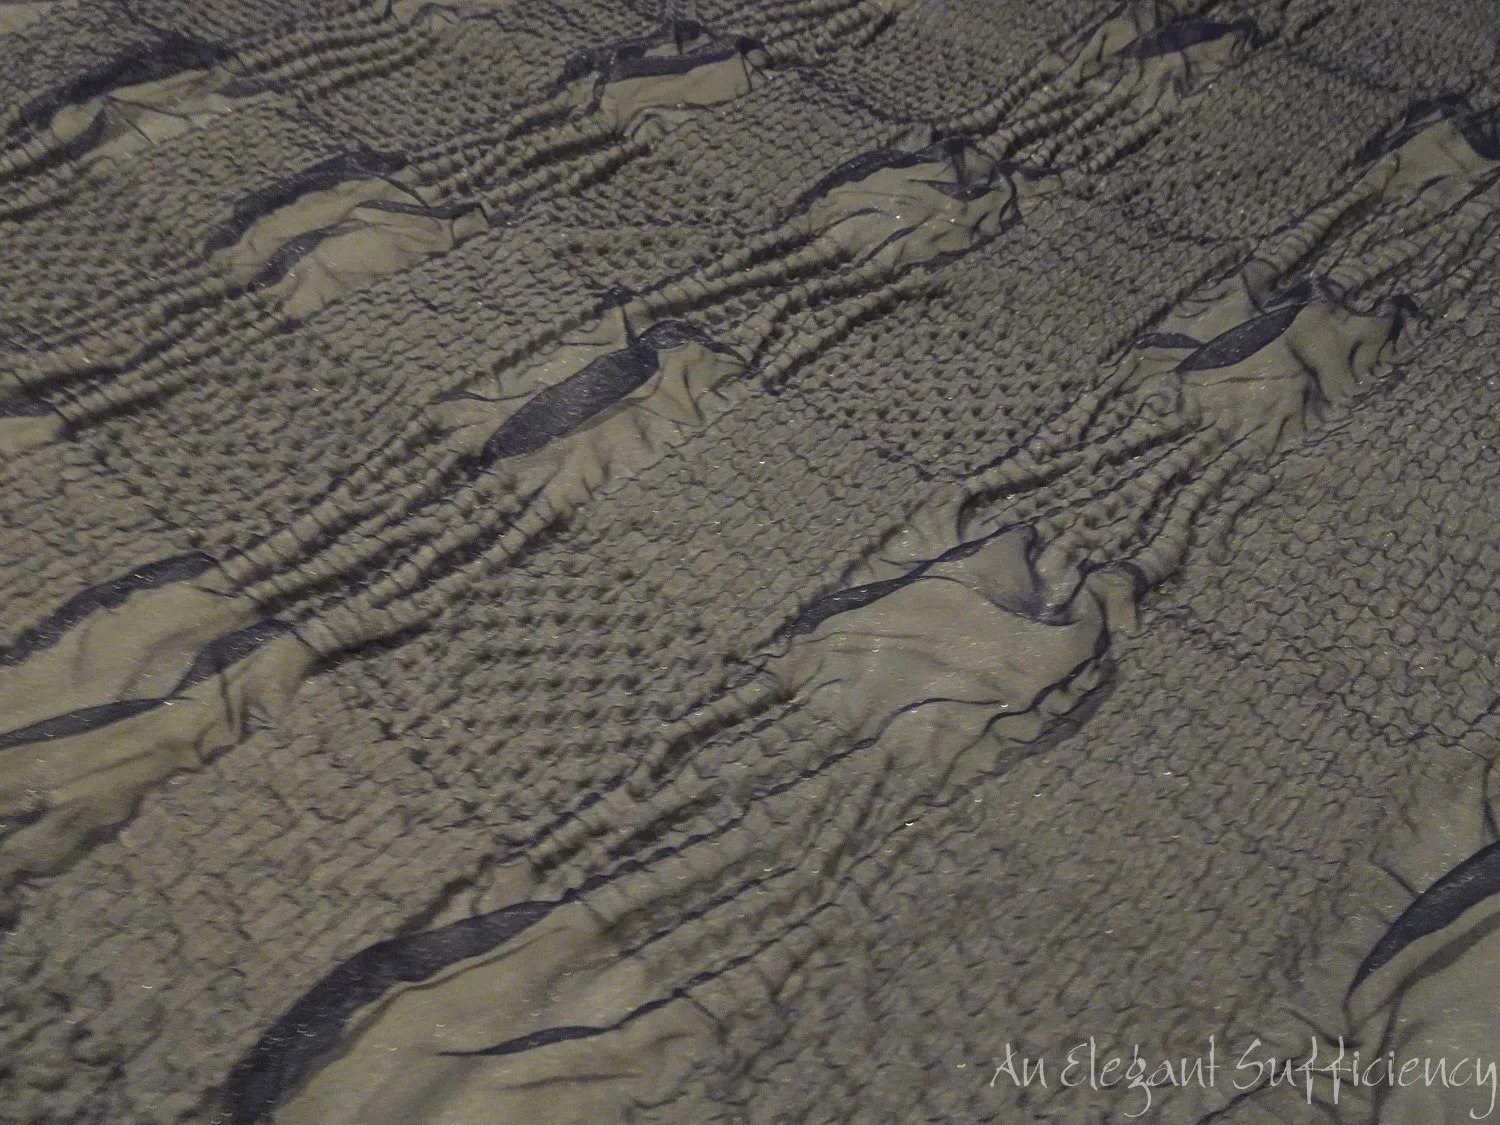
Finally a process described as Amate or bark cloth. This process was created by means of a silk screen once again, where the texture and pattern have been created to resemble a traditional bark cloth and “printed” onto a light velour-like silk fabric. The results can be seen in the shadowed area at the bottom of the photograph, the lighting making it tricky to get a decent representation of this shiny, cream coloured fabric!
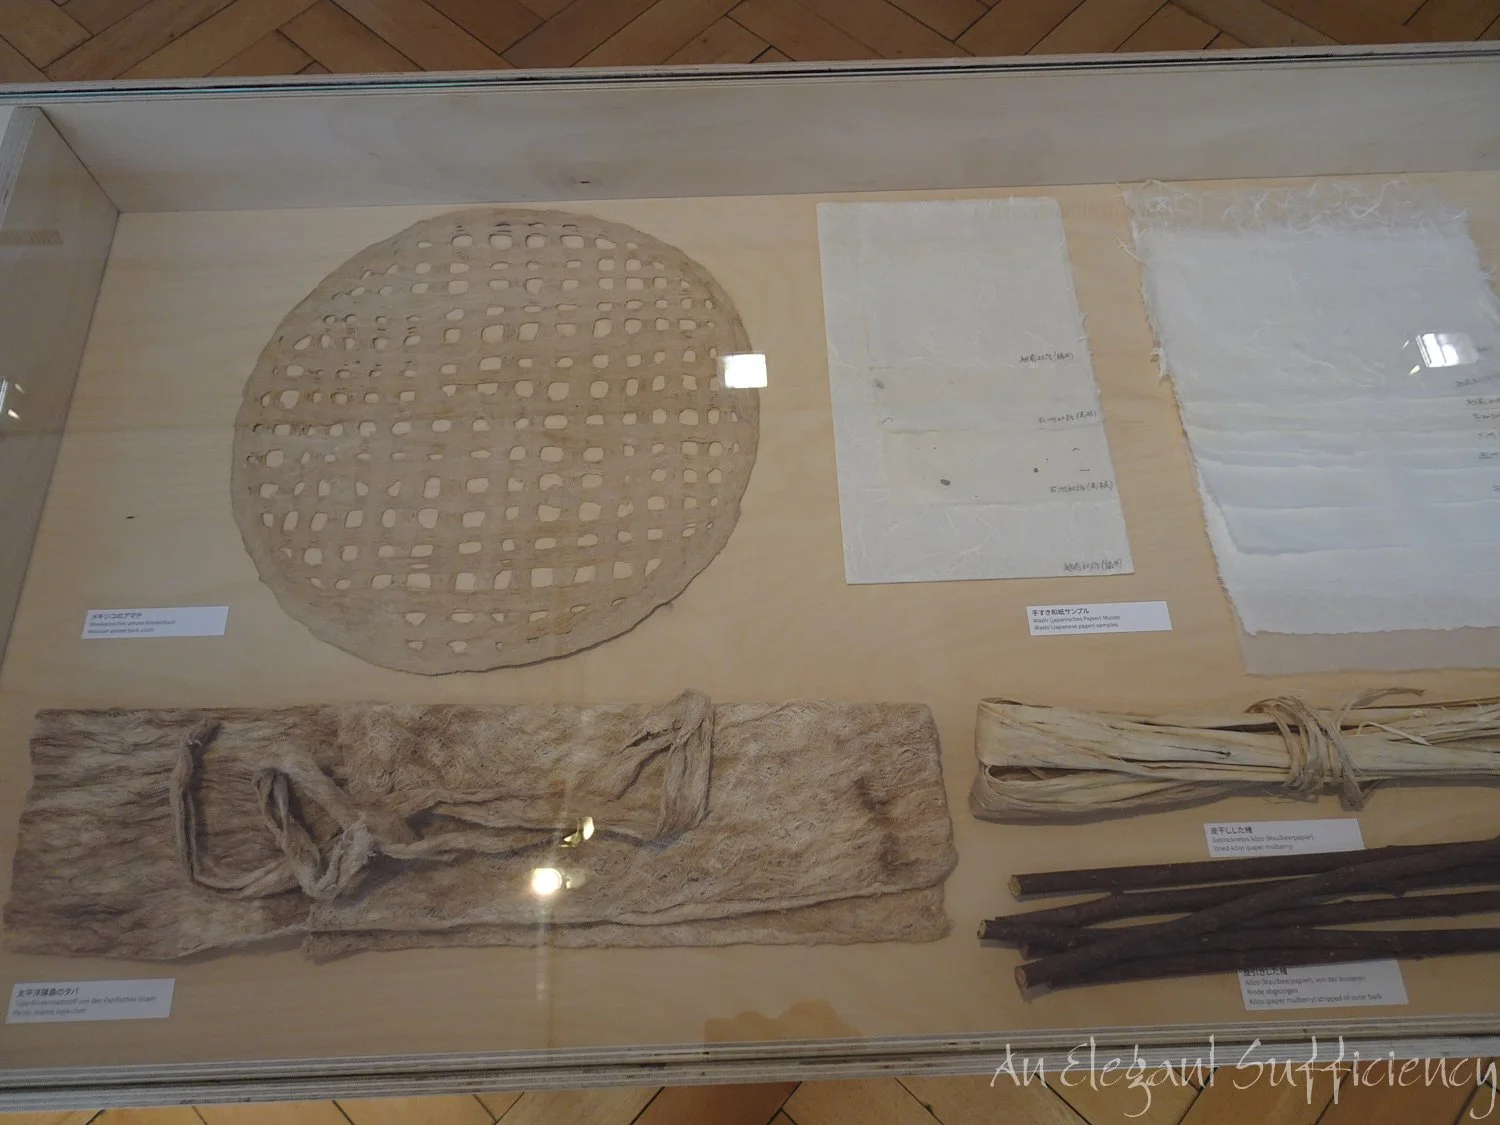
This process in particular would have benefitted from having the explanation and raw materials there on hand and not in the next room, I felt. I didn’t really know what “bark cloth” is, but having a sample there to see, all became clear. I understood about the lattice of bark strips shown on the screen above, though still couldn’t quite see how that resulted in a textured pattern that didn’t seem to have any grid structure at all!
Well, I’d worked out all the other processes, so one out of five needing more investigation wasn’t bad!

Perhaps the answer was in the video shown in the next room? Well, not that I noticed, but by now, I will admit to reaching the limits of my capacity! Such a wealth of fascinating processes, samples, colour, pattern…everything that catches my eye and piques my interest. If only I could have gone off, had some lunch and come back for another look.
But instead, I’m thankful that I got to see it at all. What better way to spend a morning, eh?